How to Prepare Artwork for Custom Sticker Printing
Prepare cleaner sticker artwork with practical checks for size, resolution, colour, text, edges and proof approval.
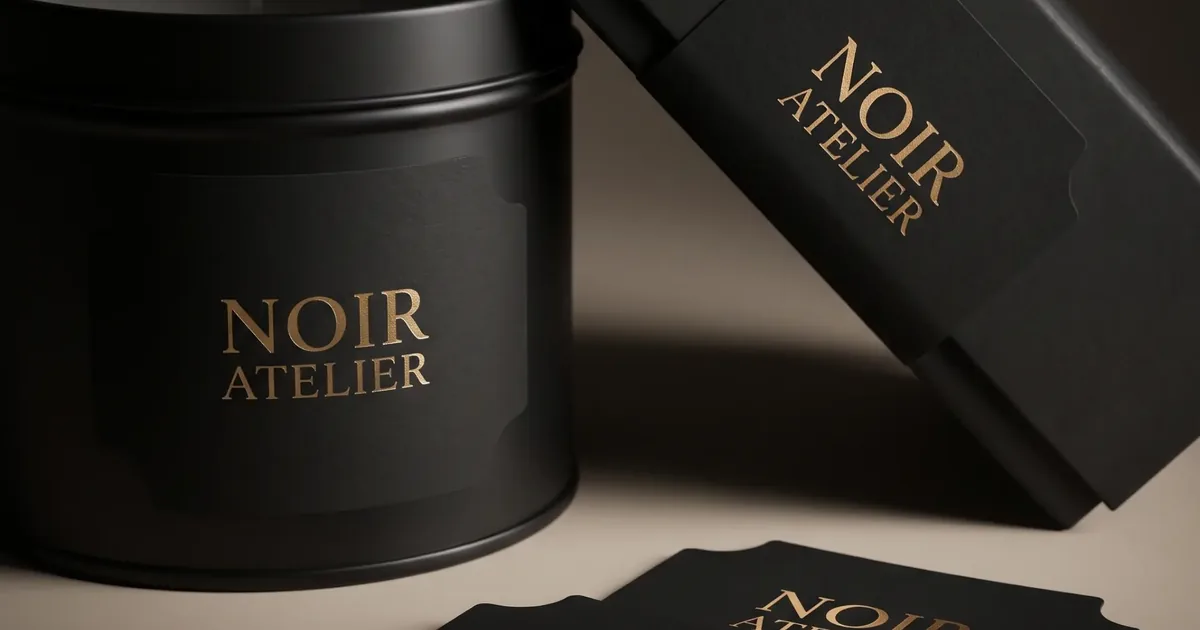
Print-ready artwork helps the final sticker match your intention. You do not need to be a production expert, but you should check the file at its real size, keep important details clear of the edge and make sure images are sharp enough for print.
Set the finished size first
Designing at the intended dimensions makes text and line thickness easier to judge. If the sticker will sit on a package, measure the exact area and print a paper mock-up. A design that looks spacious on a large monitor can feel cramped at three centimetres wide.
Use the best source artwork available
Vector artwork is ideal for logos and type because it can scale cleanly. For photographs or raster illustrations, use the original high-resolution file. Avoid screenshots, thumbnails and images repeatedly saved through chat apps, which can introduce blur or compression.
- Keep an editable master file
- Outline or package any uncommon fonts
- Check that linked images are included
- Avoid enlarging a small bitmap
- Export a clear preview for reference
Protect important content near the edge
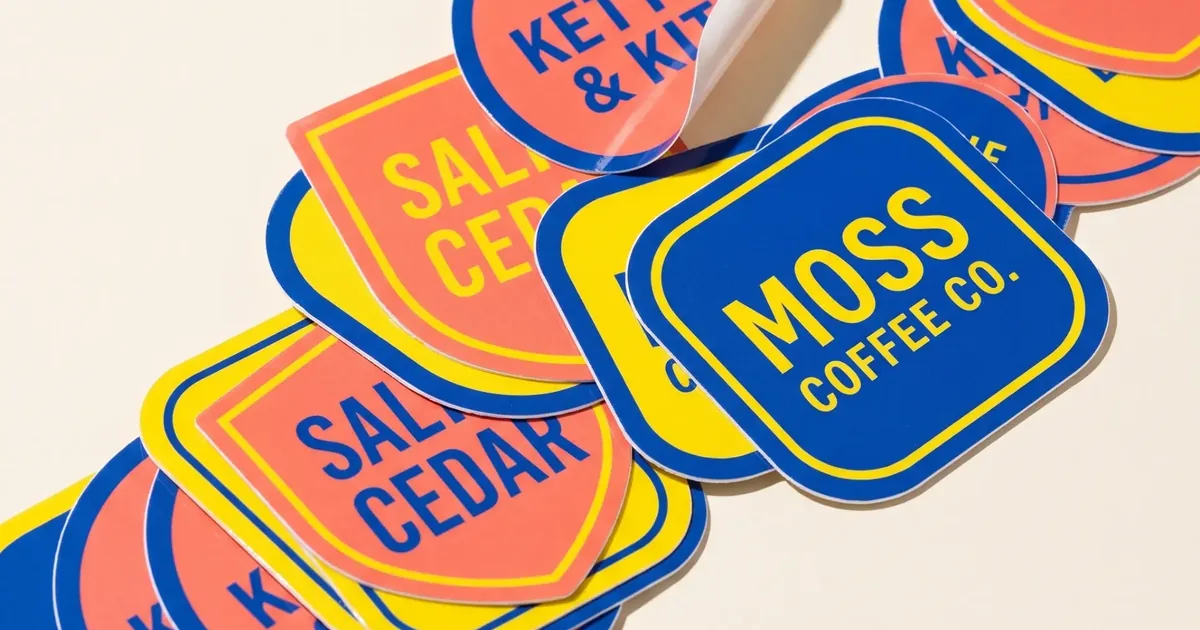
Printing and cutting require a small working tolerance. Extend backgrounds and images beyond the intended trim, while keeping logos and text safely inside. For Kiss-Cut artwork, use a smooth contour and avoid fragile spikes or narrow channels.
Treat the proof as the final checkpoint
Review the proof at actual size and inspect every word, number and alignment. Confirm the cut shape, orientation and quantity as well as the design. Proof approval should mean the file is ready to produce, so involve the person responsible for product information before approving.